Step-by-Step Guide to Setting Up Your Phoenix Display from Iconic Displays
Trade show displays are essential tools for capturing attention and making a lasting impression at events. The phoenix display from Iconic Displays is a popular choice for businesses seeking a versatile and visually striking exhibit solution. If you’ve recently acquired this display, you might be wondering how to set it up efficiently to maximize its impact. This guide will walk you through the entire process, ensuring your phoenix display is ready to impress in no time.
Unboxing and Preparing Your Phoenix Display
1. Inspect Your Package
Before starting, carefully unpack the phoenix display components. Check for all parts including the frame sections, graphic panels, connectors, and any accessories like lights or shelving. Having everything accounted for will save time during assembly.
2. Choose Your Setup Location
Select a spacious area where you can lay out the pieces and assemble the display comfortably. Ensure the space is clean to avoid damaging the graphics or frame. Consider the lighting and backdrop of your event space for optimal placement.
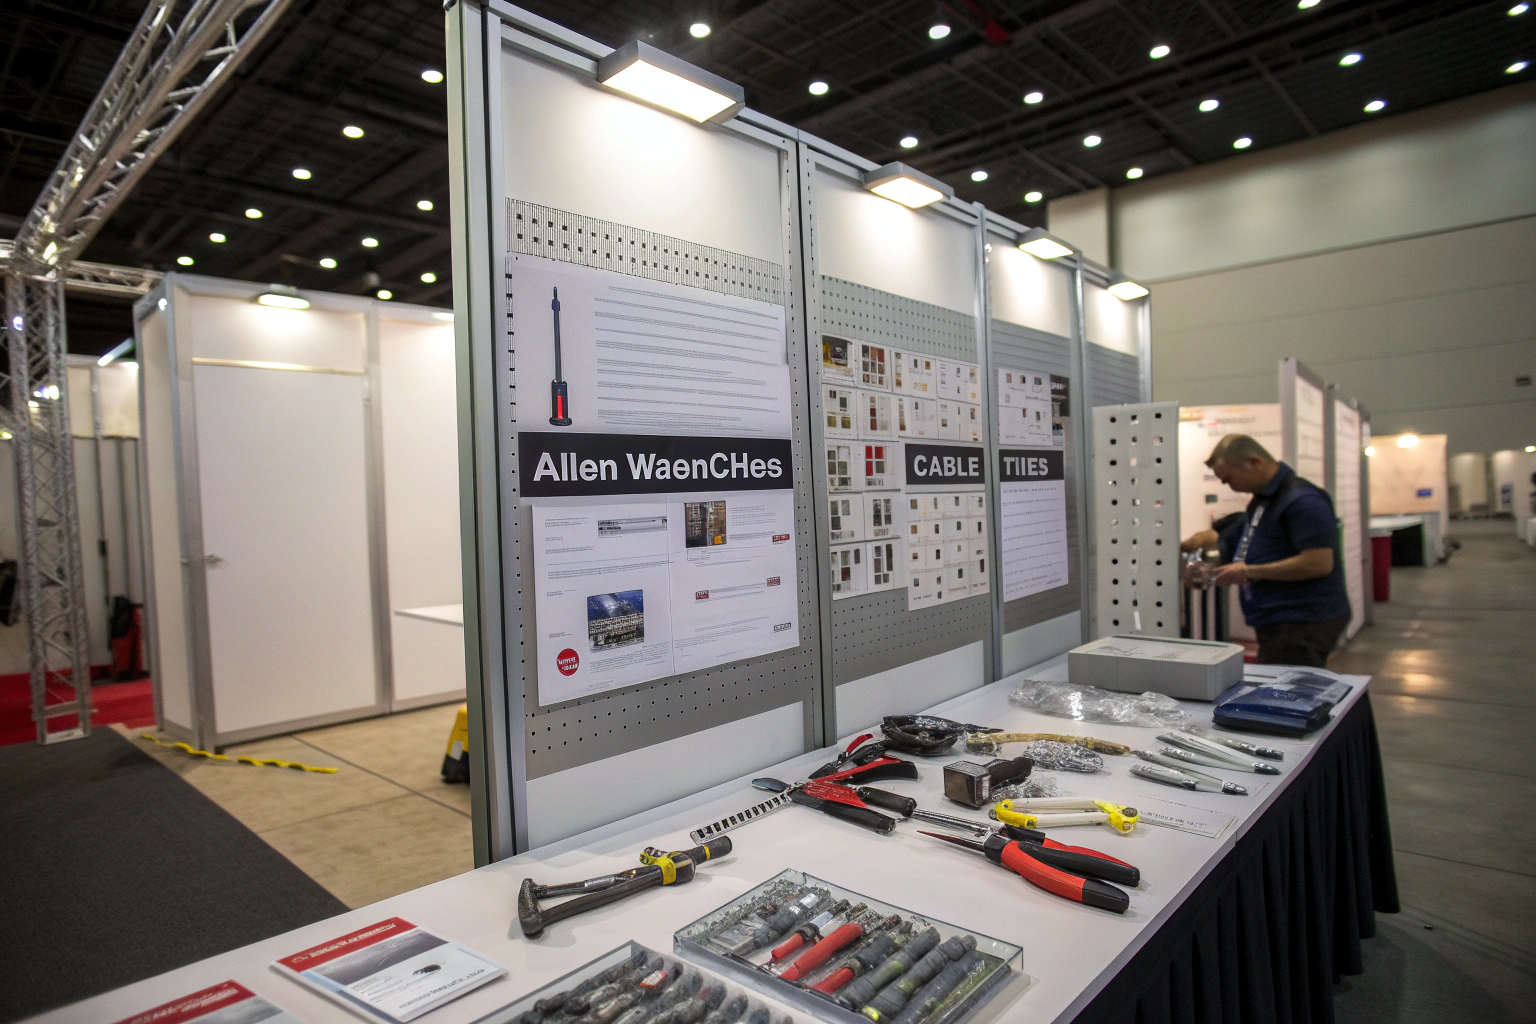
Assembly Instructions for the Phoenix Display
3. Assemble the Frame
Begin by connecting the frame sections as per the included instructions. The phoenix display typically uses a modular aluminum frame with snap or click connectors for easy assembly. Align each section carefully and secure connections firmly to maintain stability.
4. Attach Graphic Panels
Once the frame is set, carefully attach the graphic panels. These usually come with magnetic or hook-and-loop fasteners, allowing for quick installation. Smooth out any wrinkles or bubbles for a professional finish. If your display includes backlit graphics, ensure the lighting elements are installed before attaching the panels.
5. Add Accessories
Enhance your phoenix display with optional accessories such as shelves, literature holders, or monitor mounts. These components snap onto designated points on the frame. Double-check all attachments to prevent any shifting during transport or use.
Final Checks and Tips
6. Stability and Safety
After assembly, gently shake the display to confirm its sturdiness. Make any necessary adjustments to connectors or support feet to prevent wobbling. If your event space is outdoors, consider additional weights or anchors for wind stability.
7. Transport and Storage
The phoenix display is designed for portability. When disassembling, reverse the steps carefully and pack components in their protective cases. Store your display in a dry, cool place to preserve the graphics and hardware for future use.
Setting up your phoenix display from Iconic Displays doesn’t have to be daunting. By following this step-by-step guide, you’ll create an eye-catching and professional trade show presence that draws visitors and effectively showcases your brand. With a little preparation and attention to detail, you’ll be ready to make a memorable impact at your next event.
Leave a Reply